Test a Diode with Analog Multimeter
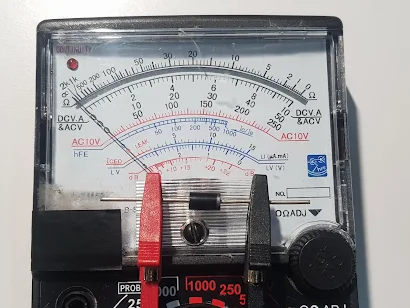
We use LV and LI scale to test a diode condition. How to set those scale , it use Ohm range then reading the measured value from LV scale to test forward voltage drop (Vf) and use LI scale to test forward current and reverse current. This method can test LED and zener diode too. See photo below , LV scale range 0 - 3 full scale and LI scale range 0-15 full scale.
LI scale reading 0-15 full scale.
x1 Full Scale 150mA , multiplied by 10 with 0-15 reading
x10 Full Scale 15mA , multiplied by 1 with 0-15 reading
x100 Full Scale 1.5mA , devided by 10 with 0-15 reading
x1K Full Scale 150uA , multiplied by 10 with 0-15 reading
LV scale range 0 - 3 and LI scale range 0-15
Step to test Diode with analog multimeter .
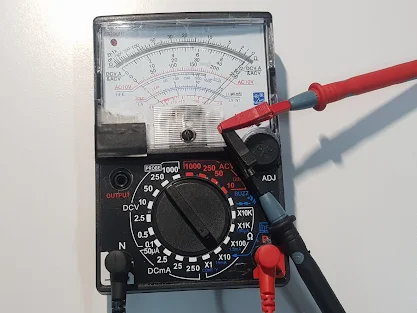
1. Set the multimeter to Ohm range. Select the right range and turn rotary switch to suitable range. Multimeter will supply voltage and current to diode from the test leads. The voltage and current supply from internal AA battery which installed inside the multimeter.
Rx1 ( 150mA 3VDC ) for big diode.
Rx10 (15mA 3VDC ) for medium diode.
Rx100 (1.5mA 3VDC ) for small diode
Rx1K ( 150uA 3VDC) for test leaked current.
2. Plug the red test lead to + terminal and black test lead to COM terminal.
3. Zero Ohm adjustment before testing so it will get accurate measured value. Short 2 test leads together and adjust 0 Ω ADJ knob till the pointer point at 0 Ohm mean it is ready to test.
4. Forward bias to diode by connect the black test lead Anode terminal and the red test lead to Kathode terminal as photo. The black test lead will supply positive voltage and the red test lead will supply negative voltage ( it come from internal AA battery polarity ) so the diode will get forward bias.
Forward bias to diode5. Read the measured value , forward bias case.
LV scale ( 0-3) as above photo diode has forward voltage drop = 0.7V
LI scale (0-15) as above photo diode has forward current = 12.5mA
6. Reverse bias to diode by connect the black test lead Kathode terminal and the red test lead to Anode terminal as photo below.
Reverse bias connection to diode7. Read the measured value , reverse bias case.
LI scale (0-15) as above photo diode has reverse current = 0 mA
As reverse current of small and medium diode is very small amount micro amp ( such as 5.0uA) so the multimeter can not sense that micro amp current by setting X 10 range.
8. Check diode condition and summarize.
Good diode will get forward voltage drop 0.3-08V when forward bias testing.
Good diode will get 0mA ( very small amount uA) when reverse bias testing.
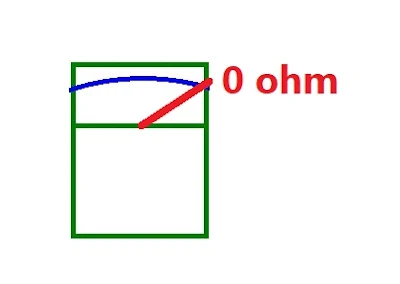
Bad diode ( shorted ) will get 0 Ohm and switch the test leads still get 0 Ohm.
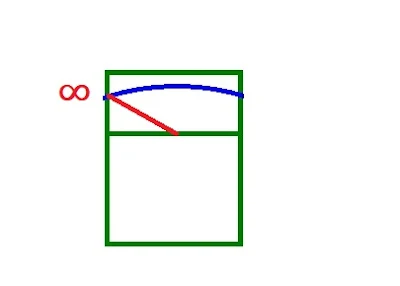
Bad diode ( Open ) will get ∞ Ohm and switch the test leads still get ∞ Ohm.
Bad diode ( open ) , the pointer will point at ∞ Ohm and switch the test lead , it still get ∞ Ohm.


