Test IGBT with Multimeter
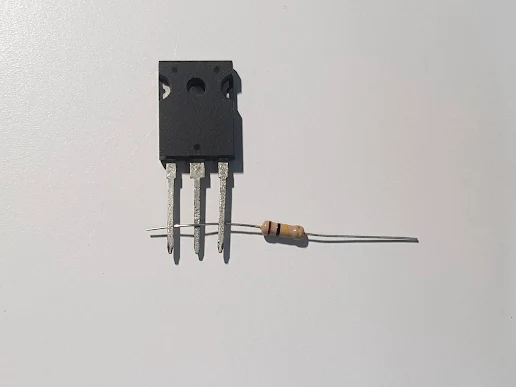
Discharge IGBT by shorting 3 terminal together. This sample IGBT has terminal arrangement as G C E ( 1-2-3 respectively ).
Step to Test IGBT with a multimeter .
1. Discharge IGBT by shorting 3 terminal together. Use resistor legs or other similar metal wire. After discharge do not touch any its terminal and during the test process always hold at insulated area or black case. Remove IGBT from circuit before doing any any testing.
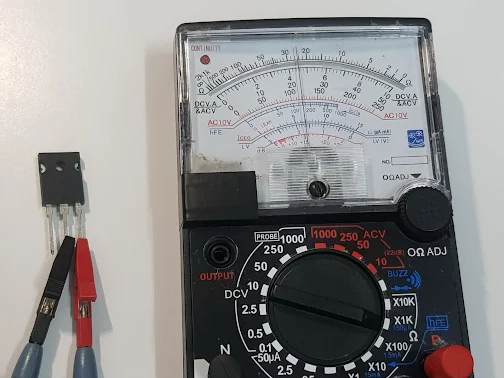
2. Test C and E terminals by using Rx1K Ohm range. Touch the test lead and read the measured value. Switch the test lead and read the measured value again. Good IGBT will display some resistance 1 time and ∞ 1 time. Shored IGBT will point at 0 Ohm 2 time. Open IGBT will point at ∞ 2 time.
Good IGBT will point at ∞ scale 1 time
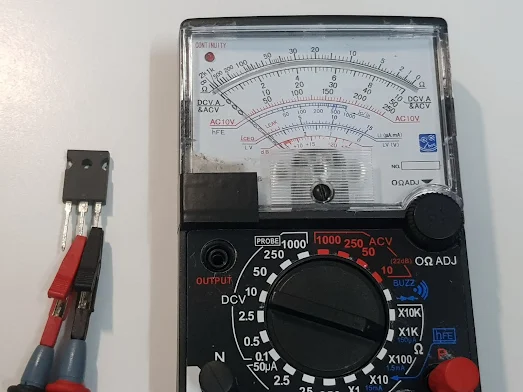
3. Test G and C terminals by using Rx10K Ohm range. Touch the test lead and read the measured value. Switch the test lead and read the measured value again. Good IGBT will display ∞ 2 time.
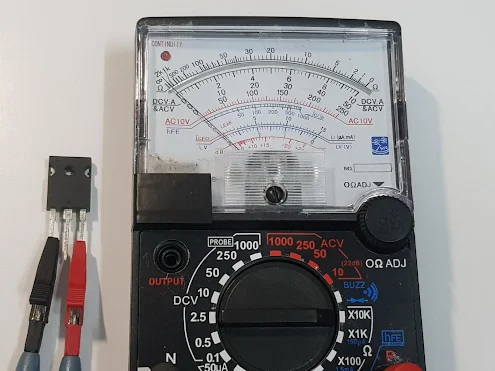
4. Test G and E terminals by using Rx10K Ohm range. Touch the test lead and read the measured value. Switch the test lead and read the measured value again. Good IGBT will display ∞ 2 time.
Test G and C terminals by using Rx10K Ohm range.
Test G and E terminals by using Rx10K Ohm range.
All step 1 , 2 , 3 to 4 testing must be good condition so the IGBT is good condition. If any of only 1 step is fail so the IGBT is already bad.
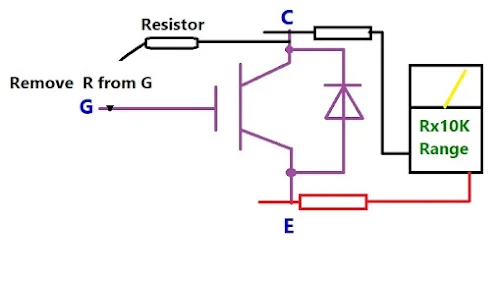
Simple method to test IGBT is Gate trig.
Discharge the IGBT by shorting 3 terminal together. During the test process do not touch any terminal and always hold IGBT at black case. Connect the lest lead as photo then use resistor to supply trig voltage from C terminal to trig G terminal. Good IGBT will cause pointer of multimeter move forward and point at some resistance. then remove the resistor ( trig voltage) , the IGBT still let current flow and the pointer still point at the same position when trig Gate.
After removing trig voltage , the pointer still point the same position ( for good IGBT)
